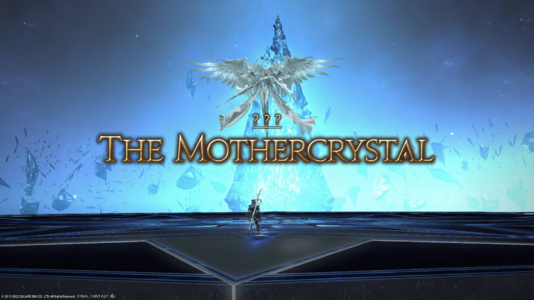
The Mothercrystal
The Mothercrystal
- Level
- 89 (Sync: 90)
- Item Level
- 0 (Sync: 550)
- Difficulty
- Normal
- Party size
- Full Party
8 man • 2 2
2  4
4 
- Unsyncing
- Allowed
- Time limit
- 60 minutes
- Phoenix Down
- Not Available
- Duty Finder
- Trials (Endwalker)
- Roulette
- Trials
- Req. quest
- Her Children, One and All
- Entrance
- The Mothercrystal (zone) (X:6.1, Y:6.1)
- Location
- The Mothercrystal
- Region
- The Northern Empty
- Modes
 Duty Support
- Patch
- 6.0
 The Echo
- On wipe: +10% (max +50%)
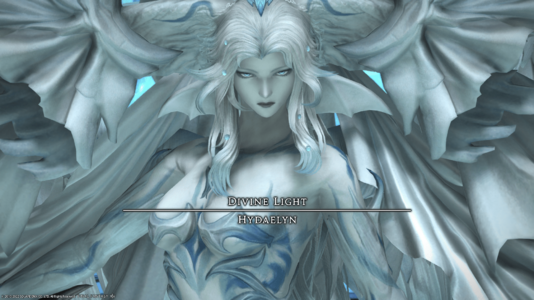
Goddess of Light. Will of the star. Hydaelyn. From the far reaches of the aetherial sea has She ever called to you...and at last you meet face-to-face. Though the Scions would traverse the great expanse in search of Meteion to forestall the Final Days, you must first rise to meet Her challenge and prove yourselves equal to the task.
— In-game description
The Mothercrystal is a level 89 trial introduced in patch 6.0 with Endwalker. This is the first 8-player duty in the game in which Duty Support is available.
Duty Support
| G'raha Tia | Thancred | Urianger | Alphinaud | Alisaie | Y'shtola | Estinien | |
|---|---|---|---|---|---|---|---|

|

|

|

|

|

|

| |
| Class | |||||||
| Role | Any | Tank | Healer or DPS | Healer | DPS | DPS | DPS |
Guide
This trial can be undertaken with other players or with a party of NPCs through Duty Support. If using Duty Support, you will begin the battle with two stacks of Willful. If you would be KO'd, instead a stack of Willful will be consumed to ignite the Will to Live, immobilizing you and protecting from most damage for several seconds. Note that touching the wall will reset the battle regardless of this buff.
 Divine Light: Hydaelyn
NOTE: The outer edge of the arena will instantly kill any player that touches it.
Heroes's Radiance: Raid-wide AoE.
Dawn Mantle: The boss will change her weapon and perform a mechanic corresponding to her weapon of choice:
- Dancer Chakrams (Red icon): A large donut AoE, stand inside her hitbox to avoid
- White Mage Staff (Green icon): A large circle AoE under her, move away to avoid this attack.
- Paladin Sword & Shield (Blue icon): A plus shaped AoE that always goes in directions of cardinals, position yourself in an intercardinal position to avoid this attack. This attack hits the width of her hitbox in both directions, so stand out of melee range
- Unlike most normal-difficulty content, these telegraphs do not have any orange ground AoE markers, so players will need to pay attention to the boss's weapon or color to avoid these.
Mousa's Scorn: Tankbuster that must be shared by both tanks. Mitigate as needed.
Magos's Radiance: Another raid-wide AoE.
The fight will transition to an add phase happens without a cast, but can be recognized by the voiceline "Crystals of Light, to me!". Players will be sent to a rainbow coloured Disc in a different area with 6 crystals spawned around the disc. These crystals must be destroyed before the Conviction bar reaches 100 or the party will wipe. Following mechanics are cast by untargetable adds on the outside during the add phase:
- Hydaelyn's Ray: A proximity ray attack (similar to Beautific Vision cast by Innocence (Extreme)). A bright orange line will appear across the center of the platform, pulsing outwards. Stand close to the arena's edge, far from the bright line, to take as little damage as possible from this attack.
- Crystalline Stone III: Stack.
- Crystalline Blizzard III: Spread with AoEs so they don't overlap.
- Exodus: Huge raid-wide AoE that signals the end of the phase. Mitigate as necessary.
Arena goes back to the original and she resumes using the mechanics from the first phase, but with a few additional mechanics:
Crystallize: Will either spawn AoE circles on each player or a stack marker. The boss casts this, but the mechanics of it will not appear for a while, typically appearing during her next cast of Dawn Mantle and resolving short after Dawn Mantle resolves. Remember to dodge Dawn Mantle before spreading or stacking for Crystallize, depending on the marker.
Parhelion: Shoots out three sets chakrams in line AoEs originating from the boss. They will explode in the order spawned, and there's a safe zone between each one. Subparhelion will be cast immediately afterwards.
Subparhelion: The same chakrams placed by the Parhelion mechanic will shoot out another set of line AoEs back through the center of the room, resulting in the entire room being covered by one of the 3 AoEs. Like Parhelion, they'll explode in the order the line AoEs appeared, so stand next to (but not within) the first set that appeared, and then run into the space they occupied after that set explodes to dodge the other two.
Parhelic Circle: Spawns a green snowflake-shaped symbol on the ground, which will then spawn AoEs in the middle of the room at the tip of the lines (similar to the Ravensclaw attack in Cinder Drift). Avoid standing in the middle of this symbol, and position yourself outside of the smaller lines, where there will be a safe zone.
Heroes's Sundering: Tankbuster in the shape of a cone, other players who are not tanks should avoid standing with the tank.
Radiant Halo: Raid-wide AoE.
Lightwave: Spawns four large waves of light on the edges of the arena that will slowly move across the room. The waves will be staggered, with two starting moving before the other two. Move the boss to the area that won't be hit by the waves, or dodge the waves as they move across.
Echoes: A stack marker that hits multiple times, stay stacked until the mechanic is done. This is cast immediately after Lightwave. Don't panic, there's plenty of time after the stacked AoE has finished to move out of the way of the waves.
Loot
- Hydaelyn Card (Drops at a fixed rate.)
Dialogue
All lines from the boss are voice acted.
Duty dialogue
Optional post-duty pop-ups
Duty Support dialogue
Music
| Section | Theme |
|---|---|
| Main | Your Answer |
Trivia
- Hydaelyn's weapon stances mirror her "job changes" (paladin, white mage, dancer) that she used when she dueled the player as Venat during Worthy of His Back.


