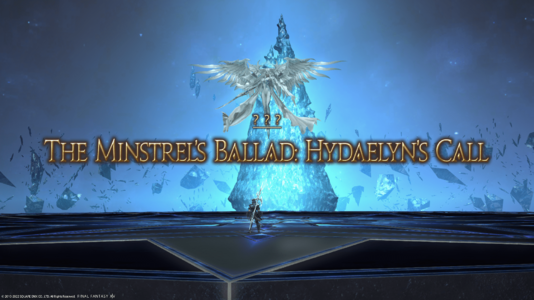
The Minstrel's Ballad: Hydaelyn's Call
The Minstrel's Ballad: Hydaelyn's Call
- Level
- 90 (Sync: 90)
- Item Level
- 560
- Difficulty
- Extreme
- Party size
- Full Party
8 man • 2 2
2  4
4 
- Unsyncing
- Allowed
- Time limit
- 60 minutes
- Phoenix Down
- Not Available
- Duty Finder
- High-end Trials (Endwalker)
- Roulette
- Mentor
- Tomestones
 15
15 - Req. quest
- I Wandered Sharlayan as a Minstrel
- Location
- The Mothercrystal
- Region
- The Northern Empty
- Stone, Sky, Sea
- Available
- Patch
- 6.0
 The Echo
- On wipe: +5% (max +25%)
From the first note of the minstrel's melody, you recall the scene with crystal clarity─your allies and Hydaelyn, hope against hope. Overcome once again with the emotion of that day, no epithet seems too grand, no verse too epic...
— In-game description
The Minstrel's Ballad: Hydaelyn's Call is a level 90 trial introduced in patch 6.0 with Endwalker.
Guide
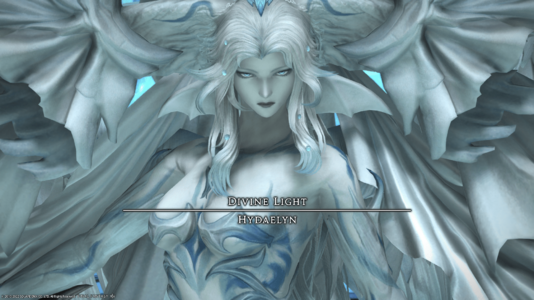
 Divine Light: Hydaelyn
Phase 1
Heros's Radiance: Raid-wide AoE.
Shining Saber: Stack up to spread damage.
Crystallize: The boss will display an element, followed by a weapon - the weapon attack will happen before the element attack. The first Crystallize will always be Water > Red or Green, the second will always be Ice > Green or Red (the opposite of the first), and the third is Rock or Water > Blue.
Elements
- Water - A small AoE targeted on the two healers; stack into light parties to soak up damage.
- Rock - A small AoE targeted on a random player; the full party should stack to spread damage.
- Ice - A small AoE targeted on every player; players should spread out to avoid this attack, ideally into clock positions.
Weapons
- Dancer Chakrams (Red icon): A large donut AoE, stand close to her to avoid this attack.
- White Mage Staff (Green icon): A large circle AoE under her, move away to avoid this attack.
- Paladin Sword & Shield (Blue icon): A plus shaped AoE that always goes in directions of cardinals, position yourself in an intercardinal position to avoid this attack.
Magos's Radiance: Raid wide attack.
Mousa's Scorn: Shared Tank Buster
Aureole: Wide AoE attack where you're only safe on the boss' sides. Lateral Aureole: Wide AoE attack where you're only safe in-front and behind the boss.
After the first Crystalize attack, the boss will use either Magos's Radiance or Mousa's Scorn, followed by a random Aureole, followed by a second Crystallize; after that, the boss will use whichever of Radiance and Scorn it hasn't used yet, followed by another random Aureole, followed by a third Crystallize. After that, the boss will transition into Phase 2.
Phase 2 (Crystals + Adds)
Crystal adds
- Hydaelyn summons 6 crystals - three on the north side of the arena, and three on the south.
- One set of three crystals will start glowing once the phase starts - the DPS and healers should prioritise attacking these crystals.
Echo of Hydaelyn adds
- Two Echo of Hydaelyn spawn - one on the east, one on the west. Each tank should pick up one and pull it to the other side of the arena from the glowing crystals.
- Each Echo will tether to the three closest crystals to it, and tethering to a living crystal causes the boss' Conviction meter to rise more quickly - the meter rises especially quickly when an Echo is tethered to a glowing crystal.
- Once all of the glowing crystals are dead, the tanks should move the Echoes to the other side of the arena while the last of the crystals are taken down; after all six crystals are destroyed, the Echoes can be killed, which causes Hydaelyn to cast Conviction.
- The Echoes have extremely powerful auto-attacks, so healers should make sure to keep the tanks topped off.
Conviction
- If the Conviction meter ever reaches 100, Hydaelyn will cast it and automatically wipe the raid; otherwise, this is cast at the end of the phase and deals heavy raid-wide damage.
- At max strength (99 Conviction) this deals about 25,000 damage; be sure to heal and mitigate as necessary.
Phase 3 (1st Lightwave)
Halo: Raid-wide AoE.
Lightwave:
- Spawns four crystals - three on either the north or south side of the arena, one on the opposite side.
- Two light waves will spawn on the side with three crystals - one in the center, and one on either the west or east side.
- The light waves will move across the arena, dealing damage to anyone who stands in them, and whenever they collide with a crystal, that crystal deals damage to anything within line of sight; this damage should be blocked by hiding behind another crystal.
Infralateral Arc: The boss casts this after two crystals have been hit by light waves; she cleaves in a cone targeting a random healer, tank, and DPS one after the other (not necessarily in that order). The healers, tanks, and DPSes should group up and each stand behind different crystals, to split up the damage from this attack and then have a crystal to hide behind for the next line of sight attack.
Lightwave: This Lightwave spawns five crystals, one in the center and one in each corner, as well as two light waves on the edges, with a third central wave in the same direction coming later. The first four collisions can be blocked by standing behind the central crystal; the fifth should be blocked by using the crystal in whichever corner is behind the boss.
Hero's Glory: The boss will use this attack twice during this phase, once before any of the collisions and one at the same time as the last one. The boss will cleave in front of her; make sure to be standing behind the boss.
Phase 4
After all of the light waves have dissipated, the boss will resume using mechanics from the first phase, but with a few additional ones:
Heros's Sundering: Tankbuster in the shape of a cone.
Parhelion/Subparhelion: Parhelion shoots out three sets of dancer chakrams in three directions that drop line AoEs from Hydaelyn, these will explode in the order they spawn. After this, Hydaelyn will cast a Water Crystallize, followed by Subparhelion, which causes those chakrams to shoot line AoEs that cover the entire arena. The Crystallize will resolve at the same time as the first Subparhelion, so make sure to be split into light parties, and be ready to run.
Parhelic Circle: Spawns a green snowflake-shaped symbol on the ground which will in turn spawn AoEs in the middle and at the tip of the lines. Avoid standing in the middle of this symbol or position yourself on the smaller lines so you dodge the circle AoEs.
Phase 5 (2nd Lightwave)
The boss will summon four light waves, two in each direction - one of those will be central, and one of those will be on the left or the right, leaving one corner as a safe zone.
Echoes:
- A stack marker that hits multiple hits, stay stacked until the mechanic is done.
- Afterwards she will place stack markers on the party, everyone but tanks should spread to avoid damage.
- Tanks stick together for a shared tankbuster.
- After Echoes resolves, four more light waves will spawn, leaving the center as a safe zone, and the boss will cast a Water Crystallize followed by a Shining Saber, the latter of which resolves first.
After this, the phase repeats, followed by the hard enrage, which is a long cast of Heros's Radiance.
Loot
- Each player will receive 1 Umbral Totem per kill. Collect 10 totems to exchange for a weapon or 99 for a Lynx of Divine Light Flute at Nesvaaz in Radz-at-Han (X:10.6 Y:10.0).
 15 Allagan Tomestone of Poetics
- Hydaelyn Card (Drops at a fixed rate.)
 Treasure Coffer
Achievements
This duty is associated with the following achievements:
| Name | Points | Task | Reward | Patch |
|---|---|---|---|---|
| I Heard, I Felt, I Thought | 10 | Defeat Hydaelyn in the Minstrel's Ballad: Hydaelyn's Call. | - | 6.0 |
Music
| Section | Theme |
|---|---|
| Main | Your Answer |


