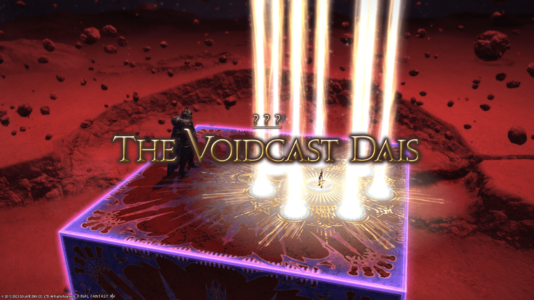
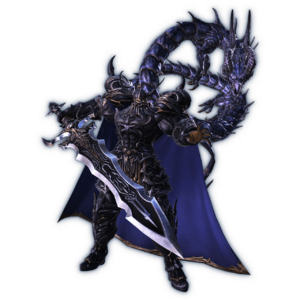
The Voidcast Dais
Jump to navigation
Jump to search
The Voidcast Dais
- Level
- 90 (Sync: 90)
- Item Level
- 615
- Difficulty
- Normal
- Party size
- Full Party
8 man • 2 2
2  4
4 
- Unsyncing
- Allowed
- Time limit
- 60 minutes
- Phoenix Down
- Not Available
- Duty Finder
- Trials (Endwalker)
- Roulette
- Trials
- Tomestones
 12
12 - Req. quest
- Abyssal Dark
- Entrance
- The Voidcast Dais (Zone) (X:6.1, Y:6.1)
- Location
- The Voidcast Dais
- Region
- ???
- Patch
- 6.4
 The Echo
- On wipe: +10% (max +50%)
Having opened a voidgate of enormous proportions in Mare Lamentorum, you successfully cross over to the moon of the Thirteenth, beneath whose sanguine surface you find the imprisoned Azdaja. Alas, just when it seems the great wyrm's liberation is in sight, you are forced to watch as she is twisted into a being of Darkness by her captor Golbez. So it is that you sally forth into the black-clad villain's conjured stage, there to end his unholy crusade and free Azdaja from her torment.
— In-game description
The Voidcast Dais is a level 90 trial introduced in patch 6.4 with Endwalker.
Guide
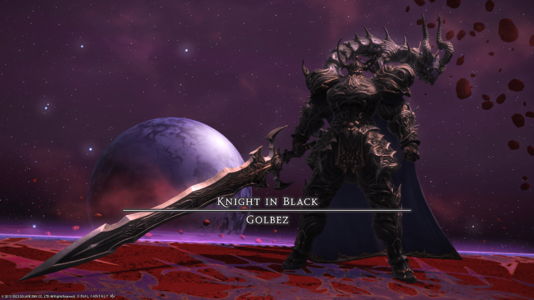
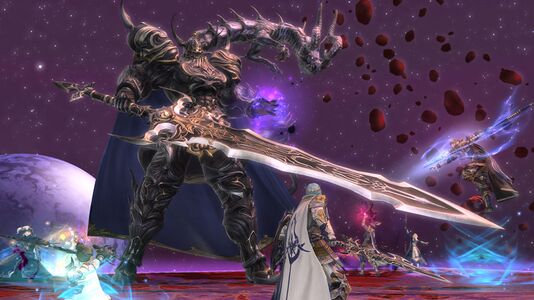
 Knight in Black: Golbez
Note that players can fall off the edge of the arena to their death, although they can be resurrected after a moderate delay.
Phase 1
- Terrastorm: Forms rock above random corner that will explode in a briefly telegraphed circular AoE. Move away to avoid.
- Crescent Blade: Faces a random player and uses a 180 degree frontal cleave. Move behind to avoid.
- Arctic Assault: Targets opposite sides of the room, leaving two opposite quadrants safe. Stand behind "arrows" to avoid.
- Void Meteor: Telegraphed multi-hit AoE tankbusters targeting both tanks (regardless of enmity).
- Lingering Spark: Multiple baited circle AoEs under players. Move away.
- Binding Cold: Raid-wide damage + Frostbite damage-over-time.
Phase 2
- Azdaja's Shadow: Phase transition.
- Black Fang: Raid-wide damage.
- Azdaja's Shadow: Powers up blade. Next Crescent Blade will become Shadow Crescent and will be followed immediately by an extra point-blank AoE attack with a very brief AoE indicator.
- Burning Shade: Spread markers on all players. Do not overlap.
- Meteor Phase: Soak towers in East and West, which may require multiple people. One healer will receive a knockback marker.
- Marked healer should stand still near/south of center.
- All other players are knocked into towers to soak, or they can pre-position and use knockback immune abilities.
- Healer tethered to dragon after knockback.
- Line attack in that direction – pull away from raid.
- Double Meteor: Two proximity damage effects centered on either the north or south corners. Move to opposite side to minimize damage.
- Gale Sphere: Spawns four clones in clockwise or counterclockwise pattern. Clones attack in the order they spawn.
- Each clone uses a line AoE across the platform. Find "safe" lanes between orbs during each round. A simple method is to find a safe area from the first two clones, then move to the safe area for the last two clones.
- Void Stardust: Two circle telegraphs appear in opposite corners. Move down the platform edges and return through the center.
- Eventide Fall: Targets each healer for a line attack. Split into light parties to share damage.
- Immolating Shade: One player marked for stack-up. Stack up to share damage.
Loot
 12 Allagan Tomestone of Poetics
- Golbez Card (Drops at a fixed rate.)
Dialogue
If you would oppose our crusade, then come!
But know that none shall deny us salvation.
This place shall be your tomb!
I will free us from the wheel!
Ware my rime-kissed blades!
I will suffer no obstacles!
No matter the foe, I will stay the course...
Let lightning surge!
Such is your power?
Come forth, my servant of shadow!
With abyssal dark and hero's blade, I bring my people liberation!
End of cutscene.
You shall know true terror!
Dragon! Hear me and obey!
Crush them!
Bathe them in black flame!
My meteors will extinguish your Light!
A raging gale to rend you asunder!
Look to the heavens for your doom!
You wretch!
Begone!
Render unto me your all!
My power...
Even my blade...So this is the limit of my defiance...
End of cutscene.
Music
| Section | Theme |
|---|---|
| Main | Voidcast Savior |

